Split pea soup is one of those old-fashioned bowls that has never really needed reinventing. Often simply called split pea soup or pea and ham soup, it has long been associated with cold-weather cooking because dried peas were inexpensive, easy to keep, and capable of turning into a filling meal. The green split pea version is especially familiar, with its soft peas, smoky ham, sweet vegetables, and thick, almost creamy texture. Despite its humble reputation, a well-made bowl has plenty of character. The peas give it body, the ham brings a deep savory note, and the vegetables keep the flavor from becoming too heavy.
The problem is getting the soup thick and creamy without making it heavy, salty, or flat. This guide shows you where that balance comes from.
Recipe at a Glance
| Stages | Approximate Time |
| Prep | 15 minutes |
| Cook | 1 hour 45 minutes |
| Total | 2 hours |
| Servings | 6 |
These times are a useful guide rather than a rule. Your actual prep and cooking time can vary depending on how quickly you chop, the heat of your stove, and how quickly your peas soften.
What Goes Into the Pot
- 2 tablespoons olive oil or butter
- 1 medium yellow onion, finely chopped
- 2 medium carrots, diced
- 2 celery stalks, diced
- 3 garlic cloves, minced
- 1½ cups dried green split peas, rinsed and checked for debris
- 6 cups low-sodium chicken broth
- 1 meaty ham hock or small ham bone
- 1½ cups cooked ham, diced
- 1 teaspoon dried thyme
- 1 bay leaf
- ½ teaspoon black pepper
- Salt, to taste
- 1–2 teaspoons fresh lemon juice
- 2 tablespoons chopped fresh parsley, for finishing
Simple Swaps When the Pantry Says Otherwise
| Ingredient | Replacement |
| Ham hock | Ham bone or extra cooked diced ham |
| Chicken broth | Vegetable broth or water |
| Fresh parsley | Chopped chives or a little fresh thyme |
| Yellow onion | White onion |
| Olive oil | Butter |
| Fresh lemon juice | A small splash of white wine vinegar |
If you use extra diced ham instead of a ham hock, the soup will still be satisfying, but it won’t develop quite the same depth during the long simmer.
Directions
The method is straightforward, but the order matters. Give the vegetables time to soften before the peas and broth go in, then let the soup simmer gently until the peas have broken down and the ham has had time to flavor the pot.
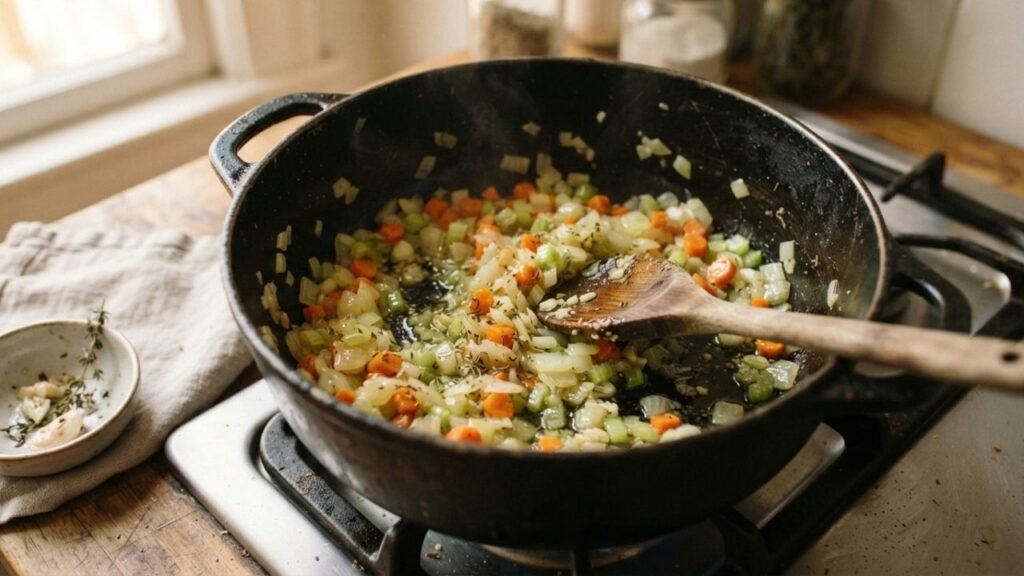
1. Give the vegetables a head start
Heat the olive oil or butter in a large pot over medium heat. Add the onion, carrots, and celery with a small pinch of salt.
Cook for about 8–10 minutes, stirring from time to time, until the vegetables soften and the onion looks translucent. Add the garlic and dried thyme and cook for another minute.
2. Build the main pot
Add the rinsed split peas, chicken broth, ham hock or ham bone, and bay leaf. Stir everything together and bring the liquid to a gentle boil.
Lower the heat, partially cover the pot, and let it simmer gently for about 1½ hours. Stir occasionally so the peas do not settle heavily on the bottom.
As they cook, the split peas will gradually soften and break apart. This is what gives the soup its naturally thick texture.
3. Bring back the ham
Remove the ham hock or bone from the pot. Once it is cool enough to handle, pull away the usable meat and discard the bone, skin, and any unwanted fatty pieces.
Return the meat to the soup along with the diced cooked ham. Simmer for another 5–10 minutes.
Remove the bay leaf and taste the soup before adding salt. Ham and broth can already provide plenty.
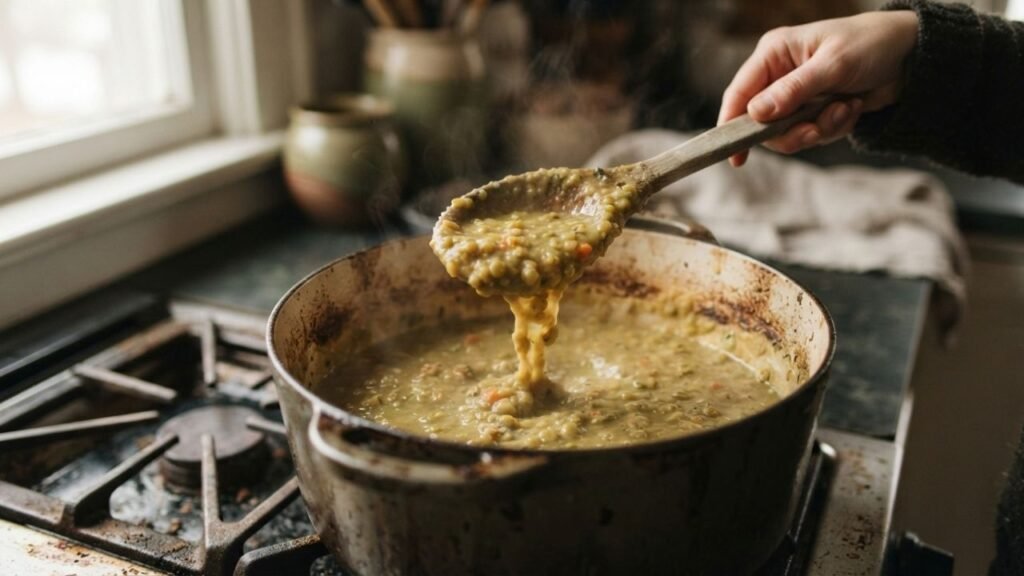
4. Fix the final balance
Add the black pepper and enough salt to taste. Stir in 1–2 teaspoons of fresh lemon juice.
The lemon should not make the soup taste sour. A small amount simply lifts the heavier flavors and gives the finished bowl a little more definition.
If the soup is thicker than you like, stir in a little hot broth or water. If it seems too thin, let it simmer uncovered for several more minutes.
What Belongs Beside a Bowl This Thick
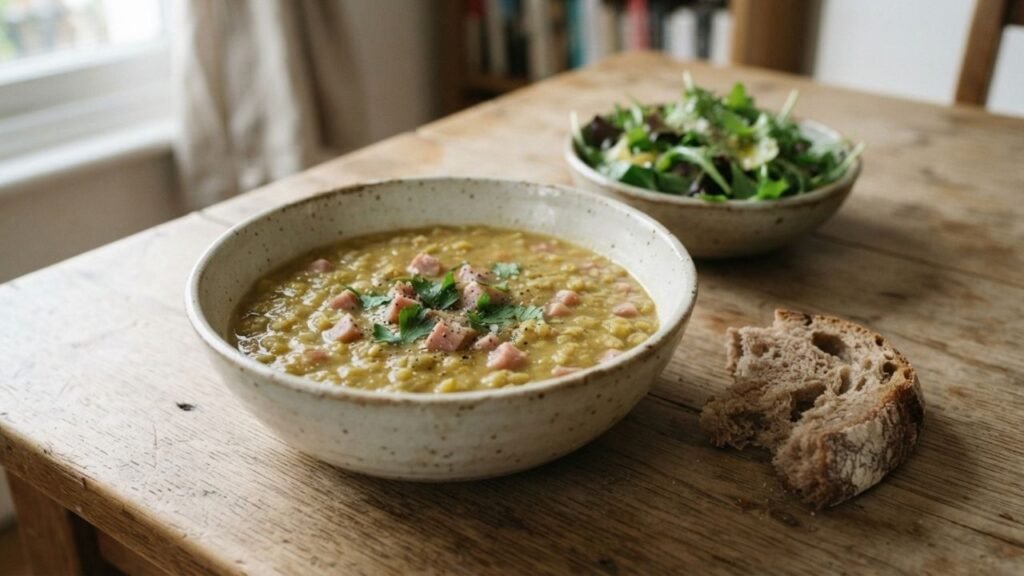
Crusty bread is probably the simplest match. A toasted slice gives the soup something crisp and chewy against its soft texture and also makes the bowl feel like a complete meal.
For something fresher, serve the soup with a simple green salad dressed with lemon or vinegar. The sharper dressing creates a useful contrast with the smoky ham and earthy peas.
A little chopped parsley over each bowl is enough for freshness and color. You don’t need a long list of toppings.
The Leftovers May Be Even Better
Split pea soup keeps well in the refrigerator, and many people find the flavor becomes deeper after resting. Store cooled soup in a covered container and use it within about 3–4 days, depending on your refrigerator and how you handle the leftovers.
It will become noticeably thicker as it sits. When reheating, warm it gently in a saucepan and add a splash of water or broth if necessary. The amount you need depends on how thick the soup has become and how you prefer its consistency.
For longer storage, the soup can also be frozen in individual portions. Leave a little room in the container for expansion and thaw before reheating when convenient.
Small Mistakes That Can Change the Whole Pot
Adding too much salt early: Ham can be surprisingly salty, so seasoning heavily before the soup finishes can leave you with little room to correct it. If you’re using packaged broth or other prepared ingredients, how sodium is listed on food labels can also help you judge how much salt is already coming into the pot.
Cooking at a hard boil: A gentle simmer is easier on the peas and gives you better control over the texture.
Skipping the vegetable base: Throwing everything straight into the broth saves a few minutes but gives the onion, carrot, and celery less opportunity to develop flavor.
Making it too thick: Remember that split pea soup continues to thicken as it cools. A consistency that looks perfect in the pot can become almost paste-like later.
Forgetting the finishing acid: A tiny amount of lemon juice can make a surprisingly noticeable difference when the soup tastes heavy or flat.
Using only ham for flavor: Ham is important, but it shouldn’t dominate every spoonful. The vegetables, peas, herbs, and broth need enough presence to keep the flavor balanced.
FAQs
1. Do split peas need to be soaked?
No. Rinse them well and remove any debris, then they can go directly into the pot.
2. Why is my split pea soup so thick?
The peas naturally break down and release starch as they cook. It also thickens further after cooling. Add broth or water until the consistency suits you.
3. Can I make it without a ham bone?
Yes. Use cooked diced ham instead. The soup will have less depth from the bone, but it will still work well.
4. Can yellow split peas be used?
Yes, although the color and flavor will be somewhat different. Green split peas give the familiar appearance most people associate with this soup.
5. Can I make the soup ahead of time?
Yes. It is well suited to making ahead because the flavor settles as it rests. Just expect the texture to become thicker and loosen it with broth or water when reheating.
A Humble Soup With Very Little to Prove
Split pea soup doesn’t need elaborate ingredients to feel complete. Its character comes from giving simple ingredients enough time to soften, combine, and develop their own kind of richness. The ham brings the savory depth, but the peas are what make the bowl what it is.
Get the consistency right, hold back on the salt until the end, and give the finished soup a small lift of acidity. Those few decisions are what turn an ordinary pot of pea and ham soup into the kind of cozy meal you will want to make again.